Managing Entity Data Table Checks
This guide explains how to define and manage entity data table checks in Funderr. Entity data table checks allow you to add custom data validation rules to entities (e.g., clients, loans) based on data stored in data tables. This is useful for enforcing data quality and ensuring that data is consistent across the system.
1. Understanding Entity Data Table Checks
Entity data table checks enable you to create custom validation rules based on data stored in data tables. This allows you to enforce specific business rules and ensure that data meets certain criteria. For example, you might create a check to ensure that a client's loan amount is within a specific range based on their credit score (stored in a data table). This helps enforce data consistency across the system
2. Accessing the Entity Data Table Checks Settings
To access the Entity Data Table Checks settings screen, follow these steps:
2.1 Navigate to Organization Settings: Follow the steps to access the Organization Settings screen (Admin -> Organization). See topic Managing Organization Settings.
2.2 Click Entity Data Table Checks: From the list of organization settings, click "Entity Data Table Checks."
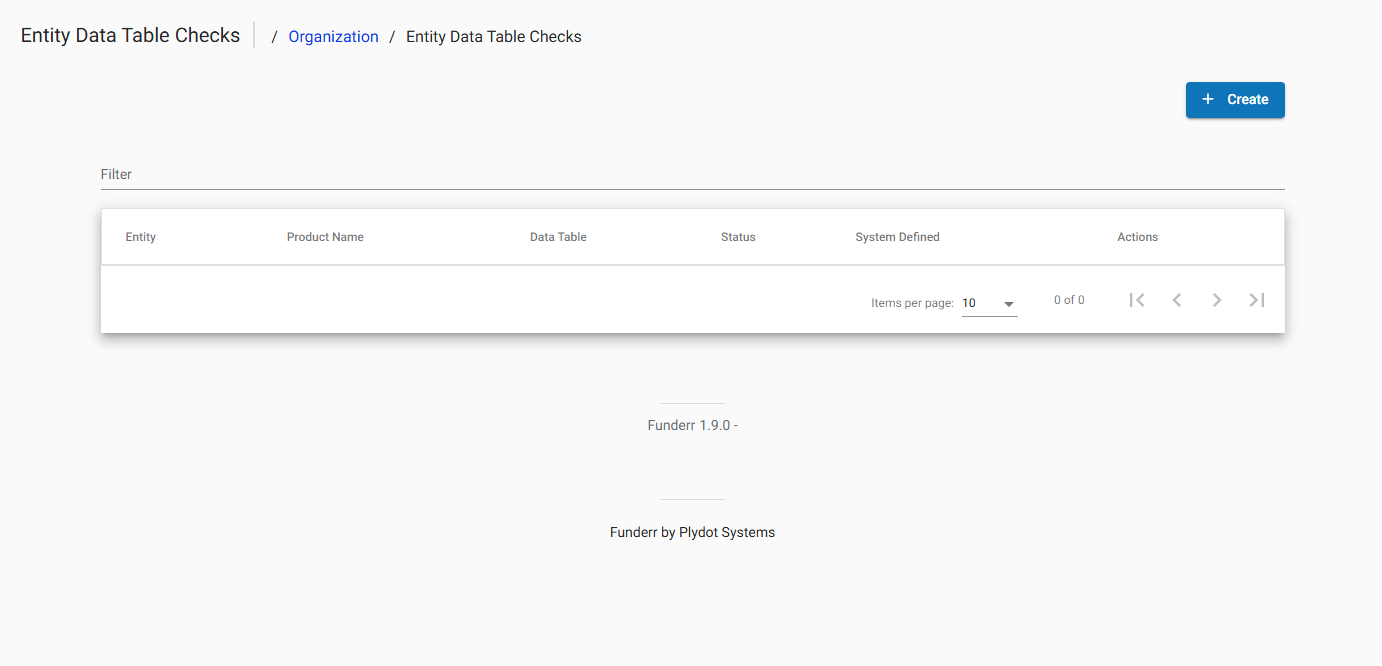
Once on the setting, see the page for table checks.
3. Viewing Existing Entity Data Table Checks
Once you've accessed the Entity Data Table Checks screen, you can view a list of existing checks:
3.1 Review the List: The screen displays a list of existing data table checks, including the entity, product name, data table, status, and other details.
4. Creating New Entity Data Table Checks
To create a new entity data table check, follow these steps:
4.1 Click Create Entity Data Check: From the Entity Data Table Checks screen, click the "+ Create" button.
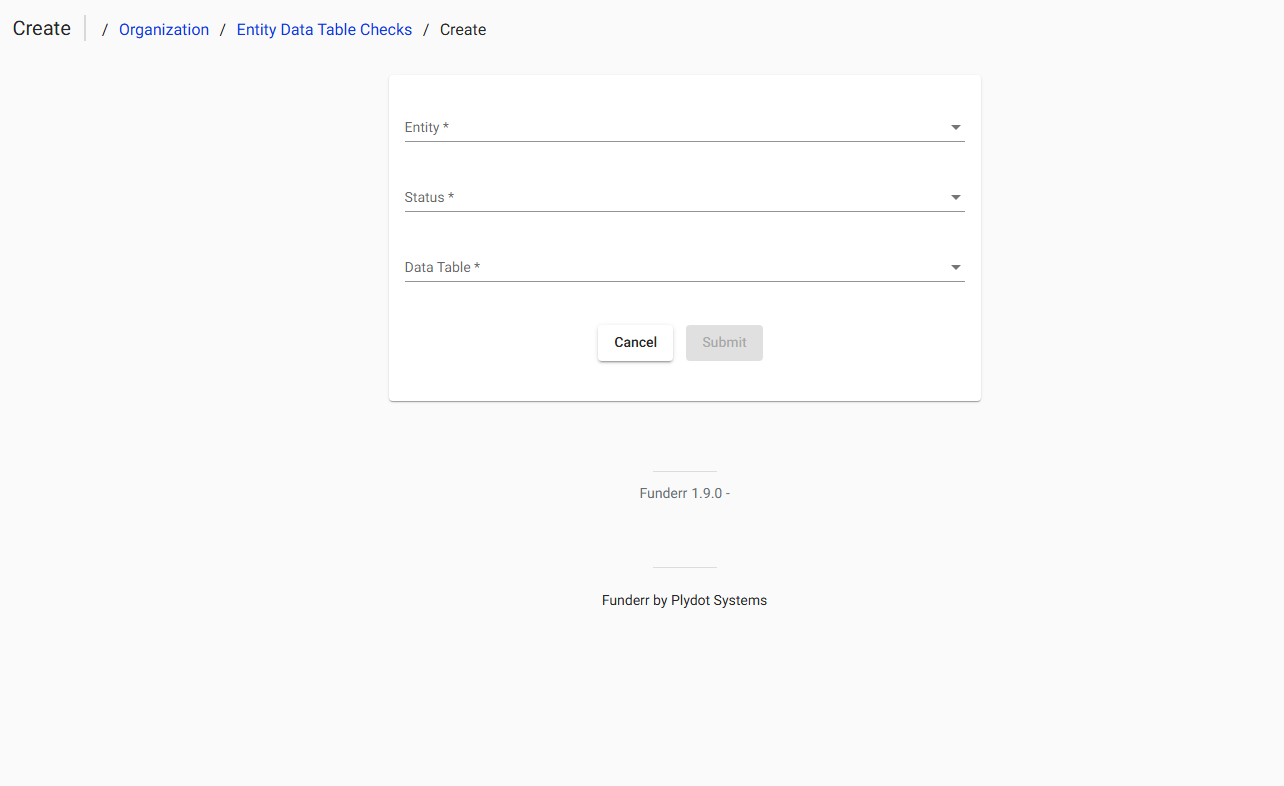
A pop-up appears as the Create entity:
Entity Select the entity table to look at
Select Status Select if this is active or not
Select Data table: Select from the list of data tables
Click Create.
4.2 Define criteria

